
Little Lady

 My 3rd-grade bilingual class is studying animals and what they need to survive. We started talking about how we can describe animals, for example, a tiny, round, black, and red bug. Guessed it? Yeah, that’s a ladybug 🐞 They read about how they can use colors, shapes, and sizes to talk about different animals. 

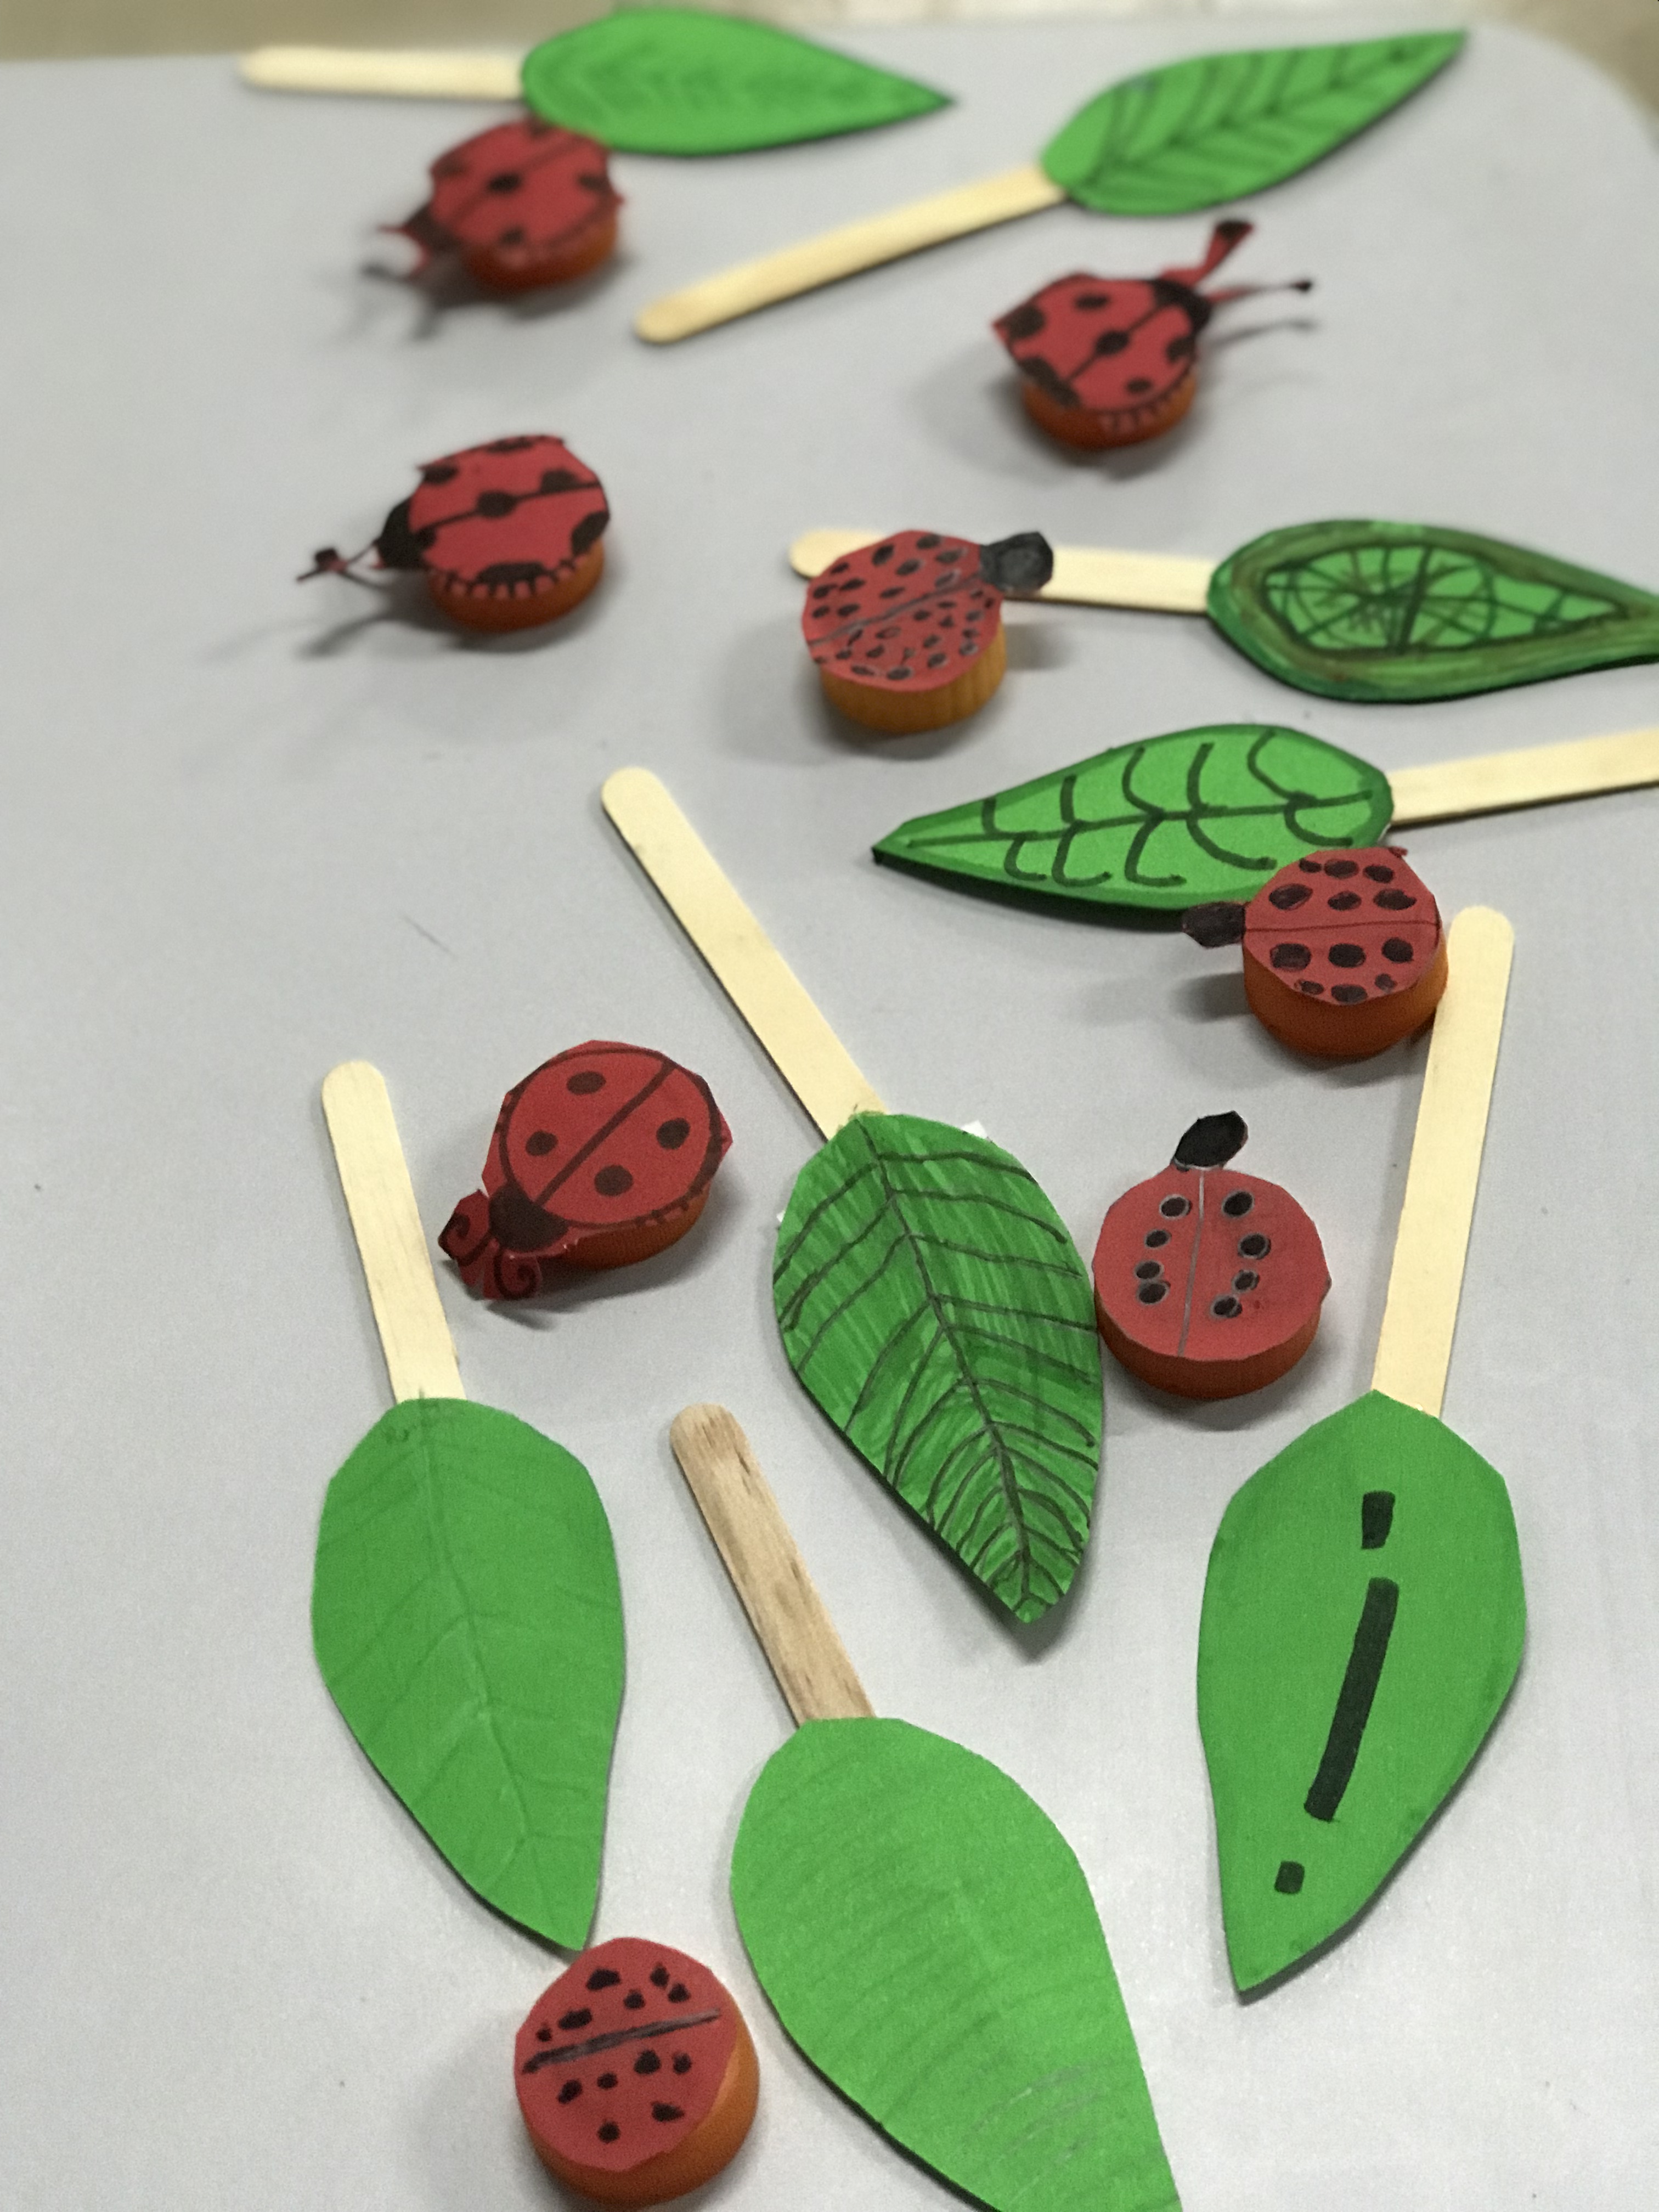
They then made ladybugs out of red paper, drew some details, and glued them to water bottle tops. They also made a leaf for their ladybug because one of the things they mentioned animals need to survive is a home. Different animals have different homes. We taped the leaves to popsicle sticks, mostly so they wouldn't get lost. At the end of the class, we made a game out of everything. 

They placed their leaves on the floor. The ladybugs were placed around a meter away from their leaves. The students had to flick the ladybugs and try to get them as close to their leaves as possible. The student who was able to get their ladybug the closest won the game.


Comments

Popular posts from this blog

Eggs, Easter, and Mr. Rabbit's Portrait

 It's chocolate time again! In Brazil, Easter means chocolate Easter eggs. Easter also brings to mind bunnies. Since we're still basically at home waiting to get vaccinated here, an Easter craft has to be made with something kids have at home, so egg cartons it is. Saw this with a range of different animals on Pinterest and thought I'd use it for a bunny Easter craft, so here's Mr. Rabbit's portrait. One of the good things about an egg carton is that it has some curves to it, which you can use for the rabbit's ears. I cut up a cereal box to use as the base, which is another thing kids will most likely have at home, of course, it can be any cardboard. I used markers to decorate the frame-like base. Let kids get creative here. I used hot glue just because I wanted everything to dry faster. I then painted the bunny white, waited for it to dry, and added the details with a black pen. The pink on the ears is also paint. I used a little bit of red and when it mixed wi...

Where is the monster?

I used the standing 3-D triangle again with my first-graders. We were studying parts of the house and the preposition IN. They first made all the rooms in a house, one room per class, so it took us 4 classes to finish the complete house and glue everything togther with a paper bag handle glued in the middle so they could take it home more easily. They also had to write the names of the rooms. Last. I used plastic bottle tops for the students to make their little monsters. After they dried, I would say the monster is in the living room, for example, and the students tried to be the first to place the monster in the correct room. Then, I let the students say where the monster was for their classmates to place the monster in the correct room. They also got to place their monsters wherever they wanted and I asked them, where their monster was and they would say it's in the bedroom, for example. The class was really excited about this project and couldn't wait to take their houses h...

It's Red and Green Season!

I had only one fifth grade student on the last day of class 😊 I had already planned on making a Christmas card with them so I told her we would make cards together. We first folded and cut a red piece of paper like the white paper in the photo. We laied the sheet flat out on the table and drew a wiggly line at the top to be the wire for the Christmas lights, We dipped our fingers in different colored paint to make the lights and while the paint was drying, we cut out 3 green triangles, each one just a little bit smaller than the other. We glued them together, added the sequins, and then glued the tree onto the cut out part of the red paper leaving just enough space to draw the tree trunk.  We added snow with a white pencil and then wrote Merry Christmas. I'm sure if I had more students they would have been creative with the details. We both ejoyed this Christmas card moment together and it was nice to talk as we worked and get to know her better.